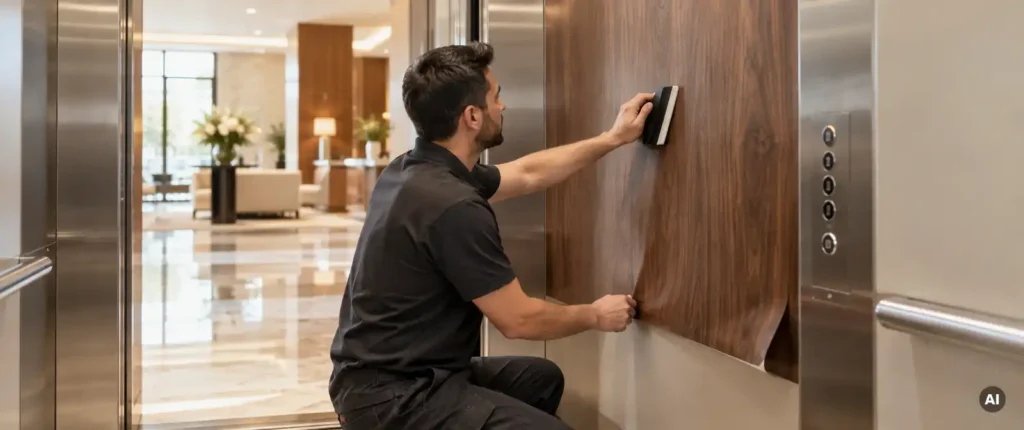
Elevators are among the most frequently used spaces in hotels, office buildings, and concept stores – and are almost always overlooked in terms of design. Yet elevator cabins offer a concentrated advertising space that every visitor inevitably enters and perceives for several seconds. With the right elevator film, this space can be transformed into a brand ambassador in just a few hours.
This guide shows you how to professionally apply a vinyl film to an elevator – from the selection of materials to the final application of the film. The result: a clean, durable elevator finish that looks impressive and lasts for a long time.
Materials and tools for elevator installation
Before you start applying the film, prepare all the necessary materials and tools. Anyone who starts without having prepared beforehand will waste time – or risk mistakes that will be difficult to correct later.
For a professional reconstruction, you will need the following tools:
- Rakel or application rake (soft to medium hard)
- Cutters with fresh blades
- Tape measure and pencil or chalk marker
- Water spray bottle (for wet bonding, depending on the film type)
- Heat gun or hot air gun
- Cleaning agents based on isopropanol
- Microfiber wipes without fluff
- Protective film or covering material for adjacent areas
Regarding the film material: Choose a self-adhesive decorative film that is suitable for interior surfaces and can be removed without leaving any residue if necessary. There are corresponding film types for elevator cabins with metal walls, mirrors, or wooden surfaces. Also, keep sufficient spare material on hand – at least ten percent more than the calculated area.
Measure and prepare elevator areas properly
Accurate sizing is the foundation of any successful film application. Errors in film application are often not caused by applying the film, but by measuring it. Take the necessary time to do this.
- Measure each wall of the elevator cabin individually – width and height, at multiple points, as elevator walls are rarely exactly perpendicular.
- Take all measurements and add a cut-off of two to three centimeters on all sides.
- Mark the cutouts such as control panels, door openings, lighting elements and handrails separately.
- Clean all surfaces thoroughly with isopropanol and a lint-free cloth. Grease, dust, or residues from cleaning agents prevent permanent adhesion.
- Allow the surfaces to dry completely before continuing.
After cleaning, check that the surface appears uniformly matte and leaves no streaks. Shiny areas indicate traces of grease – clean these areas again. Only when all surfaces are clean and dry can you proceed to the next step.
Select the motif and film type for the elevator
Choosing the right material and film type not only affects the appearance but also the durability and subsequent handling. Various material options are available for reprinting, which are suitable for different substrates and usage requirements.
When selecting, consider the following factors:
- Subsurface type: Smooth metal surfaces tolerate other films than textured wood cladding or glass. Specially coated glass decorative films are suitable for mirrors and glass surfaces.
- Use intensity: Elevators in hotels or offices are heavily used on a daily basis. Choose films with a robust surface and a protective laminate.
- Image size and resolution: Plan the print design for large-format printing – at least 72 dpi for the final size, better 100 to 150 dpi. Large-area motifs are particularly noticeable in the lift.
- Removable without residue: If you want to change the lift film seasonally or after a campaign, look for films with an air channel-shaped adhesive layer or low-pressure adhesive.
- Environmental compatibility: PVC-free materials are a good choice when sustainability plays a role in the building concept.
With the set dimensions and the selected film type, you can align the print motif exactly with the cabin walls. Always check the motif against the actual wall dimensions before placing the order.
Apply the film – step by step
Now comes the practical part: the actual wallpapering of the lift. Work systematically from top to bottom and from the center to the sides. This will prevent air bubbles and unevenness.
- First position the film dryly on the wall to check the alignment. Use masking tape as a temporary fix on the top edge.
- Only peel off the protective film on the back in the upper third. Start by gluing from the top so that you can still correct the film.
- Smooth the film with even pressure from the center outwards. Work in diagonal strokes to push air out laterally.
- Step by step, peel off the protective film and smooth it over the surface section by section. While holding the film slightly stretched, but not overstretched.
- Cut out the cutouts for controls, handrails, and door frames with a sharp knife; use a metal rail as a guide.
- Heat up the corners and edges with the hot air blower and press the film firmly with the curling iron. This way it will also adhere permanently to difficult transitions.
After installation, check every surface for any stray light. Air bubbles smaller than a centimeter can be punctured with a fine needle and then blown out. Larger bubbles indicate dirt under the film – in this case, you need to remove the affected area, clean the surface, and re-glue it.
Check the result and maintain the film over the long term
After the bonding process, quality control follows. Take the time to thoroughly inspect the elevator before it is put back into service. A well-executed elevator overhaul lasts several years with proper maintenance.
Check the following points immediately after gluing:
- All edges are neatly rounded and flat
- No visible air bubbles or waves in the middle area
- Cutouts for controls and doors are cleanly and precisely cut
- The motif is aligned and shows no shifts between the walls.
For the long-term maintenance of the elevator film, the following applies: Clean the surfaces regularly with a damp cloth and mild detergent. Aggressive solvents, abrasives, or high-pressure cleaners damage the film surface and shorten its lifespan. If you use a laminate, the film is significantly more resistant to mechanical stress and cleaning agents.
Plan to use a residue-free film from the very beginning for frequently changing motifs. This significantly saves time with each change of motif and protects the underside of the elevator cabin.
Elevator films from com2C – materials that work in practice
From our daily work with hotels, offices and concept stores, we know that standard materials often reach their limits when it comes to redesigning – whether it’s the adhesion on difficult surfaces, durability in high-use environments or the requirement for PVC-free alternatives. It is precisely for these requirements that we develop our printing media.
In our com2C Interior Film Collection You will find self-adhesive films that are specifically designed for demanding interior applications:
- Films for metal, glass and textured surfaces – with proven adhesion even in highly frequented areas
- Removable variants for changing campaigns and seasonal advertising
- PVC-free materials from our GoGreener line for sustainable building concepts
- Compatibility with all common large-format printers and ink systems (solvent, latex, UV)
- Technical advice from our team – from material selection to processing recommendations
If you are planning a specific project or are unsure which material is best suited for your subfloor, we are happy to help you. Simply contact us. Contact – we help you find the right solution for your elevator decals.