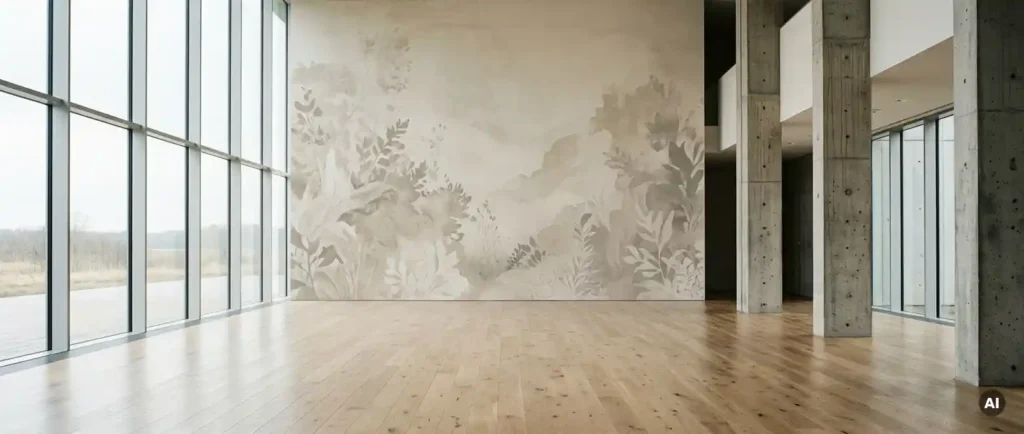
A large interior space only looks harmonious when surface, material and motif match. With digital printing, you can design walls, floors, ceilings and partitions exactly according to your concept, from the showroom to the retail space and the office floor. Which medium is suitable depends always on the specific product, the substrate, the printing system, the location and the usage. This guide shows you in five steps how to design interiors with digital printing and avoid typical mistakes already in the planning phase.
You will learn how to analyze the space, choose the appropriate printing medium, prepare your data for large-format printing, execute the assembly cleanly, and test the result. This way, you will go from the initial idea to a space design that works in everyday life as well.
Analyze space, underground, and usage in advance
First, identify the framework conditions before setting a motif. The goal of this step is to know all the factors that will determine the material and processing later. The more precise this analysis is, the fewer corrections will be required later.
Go about this systematically:
- Measure each surface exactly, including the clearances for windows, doors, electrical outlets, and ventilation openings. Check the height and width of walls at multiple points; old buildings often deviate from the standard.
- Determine the substrate: plaster, concrete, glass, wood, dry construction or metal. Check that it is dry, stable, clean and suitable for the intended medium. The requirements for smoothness, absorption and pre-treatment vary depending on the product. Fresh plaster or paint usually requires sufficient time to cure before being applied. For the specific waiting time, refer to the manufacturer's specifications.
- Clarify the use: How much of the surface is touched, cleaned, or mechanically handled? An entrance area with public traffic presents different requirements than a wall in a conference room.
- Note down the lighting conditions. Direct sunlight, spotlights, or strip lighting all affect how colors and surfaces appear.
- Determine the duration of the use. A three-month action area requires a different material than a design that lasts for several years.
At the end of this step, you should have a scale with all the surfaces, the respective substrate and the usage requirements. If you are unsure about a point, such as a highly absorbent or textured substrate, test the intended medium on a small test area.
Choosing the appropriate printing medium for each surface
Assign each surface the material that suits the substrate, printing system, application area, and load. With your analysis from the first step, you will make this decision purposefully rather than based on gut feelings. The material choice determines the appearance, feel, durability, and assembly effort. General statements about material groups only help to a limited extent: The characteristics and specifications of the specific medium are always crucial; these can be found in the technical data sheet.
Walls: Vinyl wallpaper and self-adhesive films
For wall decoration using digital printing, vinyl wallpaper is often suitable. They are bound together with tape and are suitable for large, continuous motifs. The quality of a product in terms of its fit with the substrate, for example in the case of slight unevenness, depends on the respective medium and should only be considered as a characteristic if it has been confirmed for the product. Self-adhesive films are an option when designing substrates such as glass, painted surfaces or furniture. Whether a film can be removed later and whether residues remain depend on the product, the adhesive system, the substrate and the duration of use. Therefore, please check the technical data sheets and, if in doubt, consult the manufacturer.
Textiles, floors and special applications
Printed textiles in the interior are used for, for example, tension frames, room dividers and ceiling designs. The properties of a textile, such as assembly, appearance or fire resistance, depend on the specific product. For floor applications, you should only use media that are suitable and approved for this purpose. In advance, clarify the expected load and the intended bonding together with the manufacturer.
If your project requires PVC-free printing media, for example due to internal specifications from the client, please explicitly check this material property in the data sheet of the respective product. Also, ensure that the medium matches your ink system. Whether a product is approved for solvent, latex, UV or water-based inks varies from medium to medium and must be verified based on the product approval.
At the end of this step, a material list is provided, which assigns each surface a specific medium. If you require samples for critical surfaces, please test them in real-life conditions on site.
Prepare motifs and print data for large format printing
Prepare your data so that it prints sharp, color-accurate, and precisely sized when printed on a wall. Errors in the print data are particularly noticeable on large surfaces and cannot be corrected after printing.
- Choose motifs with sufficient resolution. For large formats, a lower pixel density is often sufficient due to the larger viewing distance. Which resolution is actually appropriate depends on the motif, viewing distance, and printing system. Calculate the resolution based on the final size and check the motif in the 100% view.
- Whenever possible, use vector graphics for logos, fonts, and graphic elements. They remain sharp and clear in any size.
- Scale the file to 1:1 or a clearly defined ratio such as 1:10 and document this scale.
- Plan for trim and overlap. When installing wallpaper in a straight line, determine in advance how the lines will meet and whether the pattern must continue along the seams (rapport). The specifications for this vary depending on the medium.
- Keep important image content such as faces, texts or logos out of areas where there are power sockets, door frames or seams.
- Use the color profile required by the printing service provider and specify reference colors for brand colors.
You have successfully completed this step if you have a file per area or track that is dimensionally accurate, color-coordinated, and accompanied by a mounting plan. Request a proof or a print sample before the entire area goes into production.
Implement the printing and assembly process professionally
Apply pressure and perform assembly under conditions that suit the selected medium. Even the best material provides a good result only if the processing follows the manufacturer’s specifications. The following steps provide guidance. However, the processing instructions of the respective medium always take precedence.
Pressure and preparation
Let the media be dispensed on a printing system for which the selected material is approved. Drying and, if necessary, curing of the ink are governed by the ink system and medium. They should be completed before assembly. Inspect the webs for color deviations and damage before processing and number them in the assembly sequence.
Assembly step by step
- Prepare the substrate as required by the medium. In general, it should be clean, dry, stable, and free of dust, grease, and loose particles. Additional pre-treatment procedures such as priming are based on the manufacturer's instructions.
- Check the room temperature and humidity according to the processing instructions of the medium. The permissible values vary depending on the product and adhesive system.
- Start with a straight line or a laser as a reference point so that the first line is exactly perpendicular. All other lines will be aligned accordingly.
- When installing, follow the manufacturer's instructions. This applies to self-adhesive films, for example, regarding the roller technique, to vinyl wallpaper regarding the type and method of application of the adhesive, i.e., whether it is applied to a wall or a surface.
- Cut out the notches and edges only after pressing down, using a sharp blade and a clean cut, if the product allows for this.
For large or complex areas, the use of experienced installers is worthwhile. They can detect subsurface problems early and know how to handle different media. After installation, the surface should look even and without visible seam shifting.
Check the results and find solutions to problems
Systematically check the finished surface and address any deviations early on. The sooner you identify a problem, the easier it is to correct it.
Check the area in daylight and with the later room lighting. Pay attention to the following points:
- Seams and transitions: Do the motifs on the track edges fit exactly together, and are there no gaps or overlaps visible?
- Air bubbles and wrinkles: Whether and how to repair air bubbles or wrinkles depends on the product and the adhesive system. Some media allow for removal and re-application, others do not. Follow the manufacturer's instructions before you intervene.
- Edges: If edges or corners are loose, check for moisture in the substrate, dust, and room conditions during installation.
- Color effect: If the color tone differs from the proof, compare it under the same lighting conditions before taking action.
If you encounter a problem, such as on difficult substrates, unusual requirements, or adhesion issues, document the material, batch, substrate, and processing conditions with photos. With this information, the cause can usually be narrowed down more quickly.
After completion, create a short maintenance manual for the operator. It should include instructions on how to clean the area and which cleaners are suitable according to the manufacturer. This will ensure that the results remain stable in the long term.
Why you can rely on com2C to implement your interior design projects reliably
Anyone who wants to individually design large indoor spaces needs print media that fit the space and contact persons who can answer technical questions. That’s exactly what we can help you with. As a manufacturer of digital print media, we develop materials in Porta Westfalica for Interior Design and advise you personally on your project. You will also quickly find out which medium is suitable for which area via our productfinder.
That is what we specifically offer you:
- Digital printing media for interior applications: We offer various digital printing media for different printing and ink systems. Which product is compatible with which system depends on the specific medium and will be clarified based on the product release.
- PVC-free printing media: If your project requires PVC-free materials, our GoGreener line offers corresponding media. We will discuss the specific suitability for your application together based on your requirements.
- In-house production and laboratory: Thanks to our own development and coating capabilities, we can customize materials to meet your specific requirements when standard products are not sufficient.
- Application-specific advice: In the case of difficult substrates, liability issues or unusual applications, we work with you to find a practical solution.
- Quick ways: Short decision-making processes help you when projects have tight schedules.
Do you have a specific project planned? Then we would be happy to arrange an appointment. Consultation. We talk with you about surface area, the subsoil, the printing system and the use, and recommend the material that suits your concept.